How to Add Custom Graphics to your Wood Surfboard or Paddle Board
One of the neat things about building boards are all of the ways that you can customize it. One of the more popular ways is adding custom names or graphics. Over the years we've made boards for wedding anniversaries, engagements, and even corporate boards with company logos. With a bit of design work, the results can be stunning. The best part is it really doesn't cost a ton to add custom graphics to your board. Before we jump into how to add these custom graphics, check out some examples below that we've completed recently using this technique to show you what is possible.
 |
 |
 |
 |
 |
 |
Let me guess, you are already deciding what you want to put on your board and how it's done. So how did we add them? We use rice paper, similar to what is used to make sushi spring rolls. There are a million different types and weights of rice papers out there, but the best paper is thin yet holds ink well. This helps to ensure that the rice paper isn't visible on your board.
To get started you will first tape a piece of the delicate rice paper to a sheet of sturdier paper so that it can be run through a printer. Standard printer paper works OK for this but seems to be hit or miss and sometimes jams. What we have found works best is taping or lightly gluing the rice paper to a sheet of transparency film.
Once you have the film taped down, you'll simply run it through your printer so that the printer prints on the rice paper side. Once done, you'll let it dry for an hour or so.
Now it's time to apply it to the board.
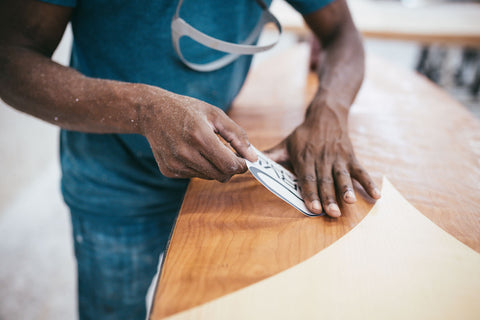
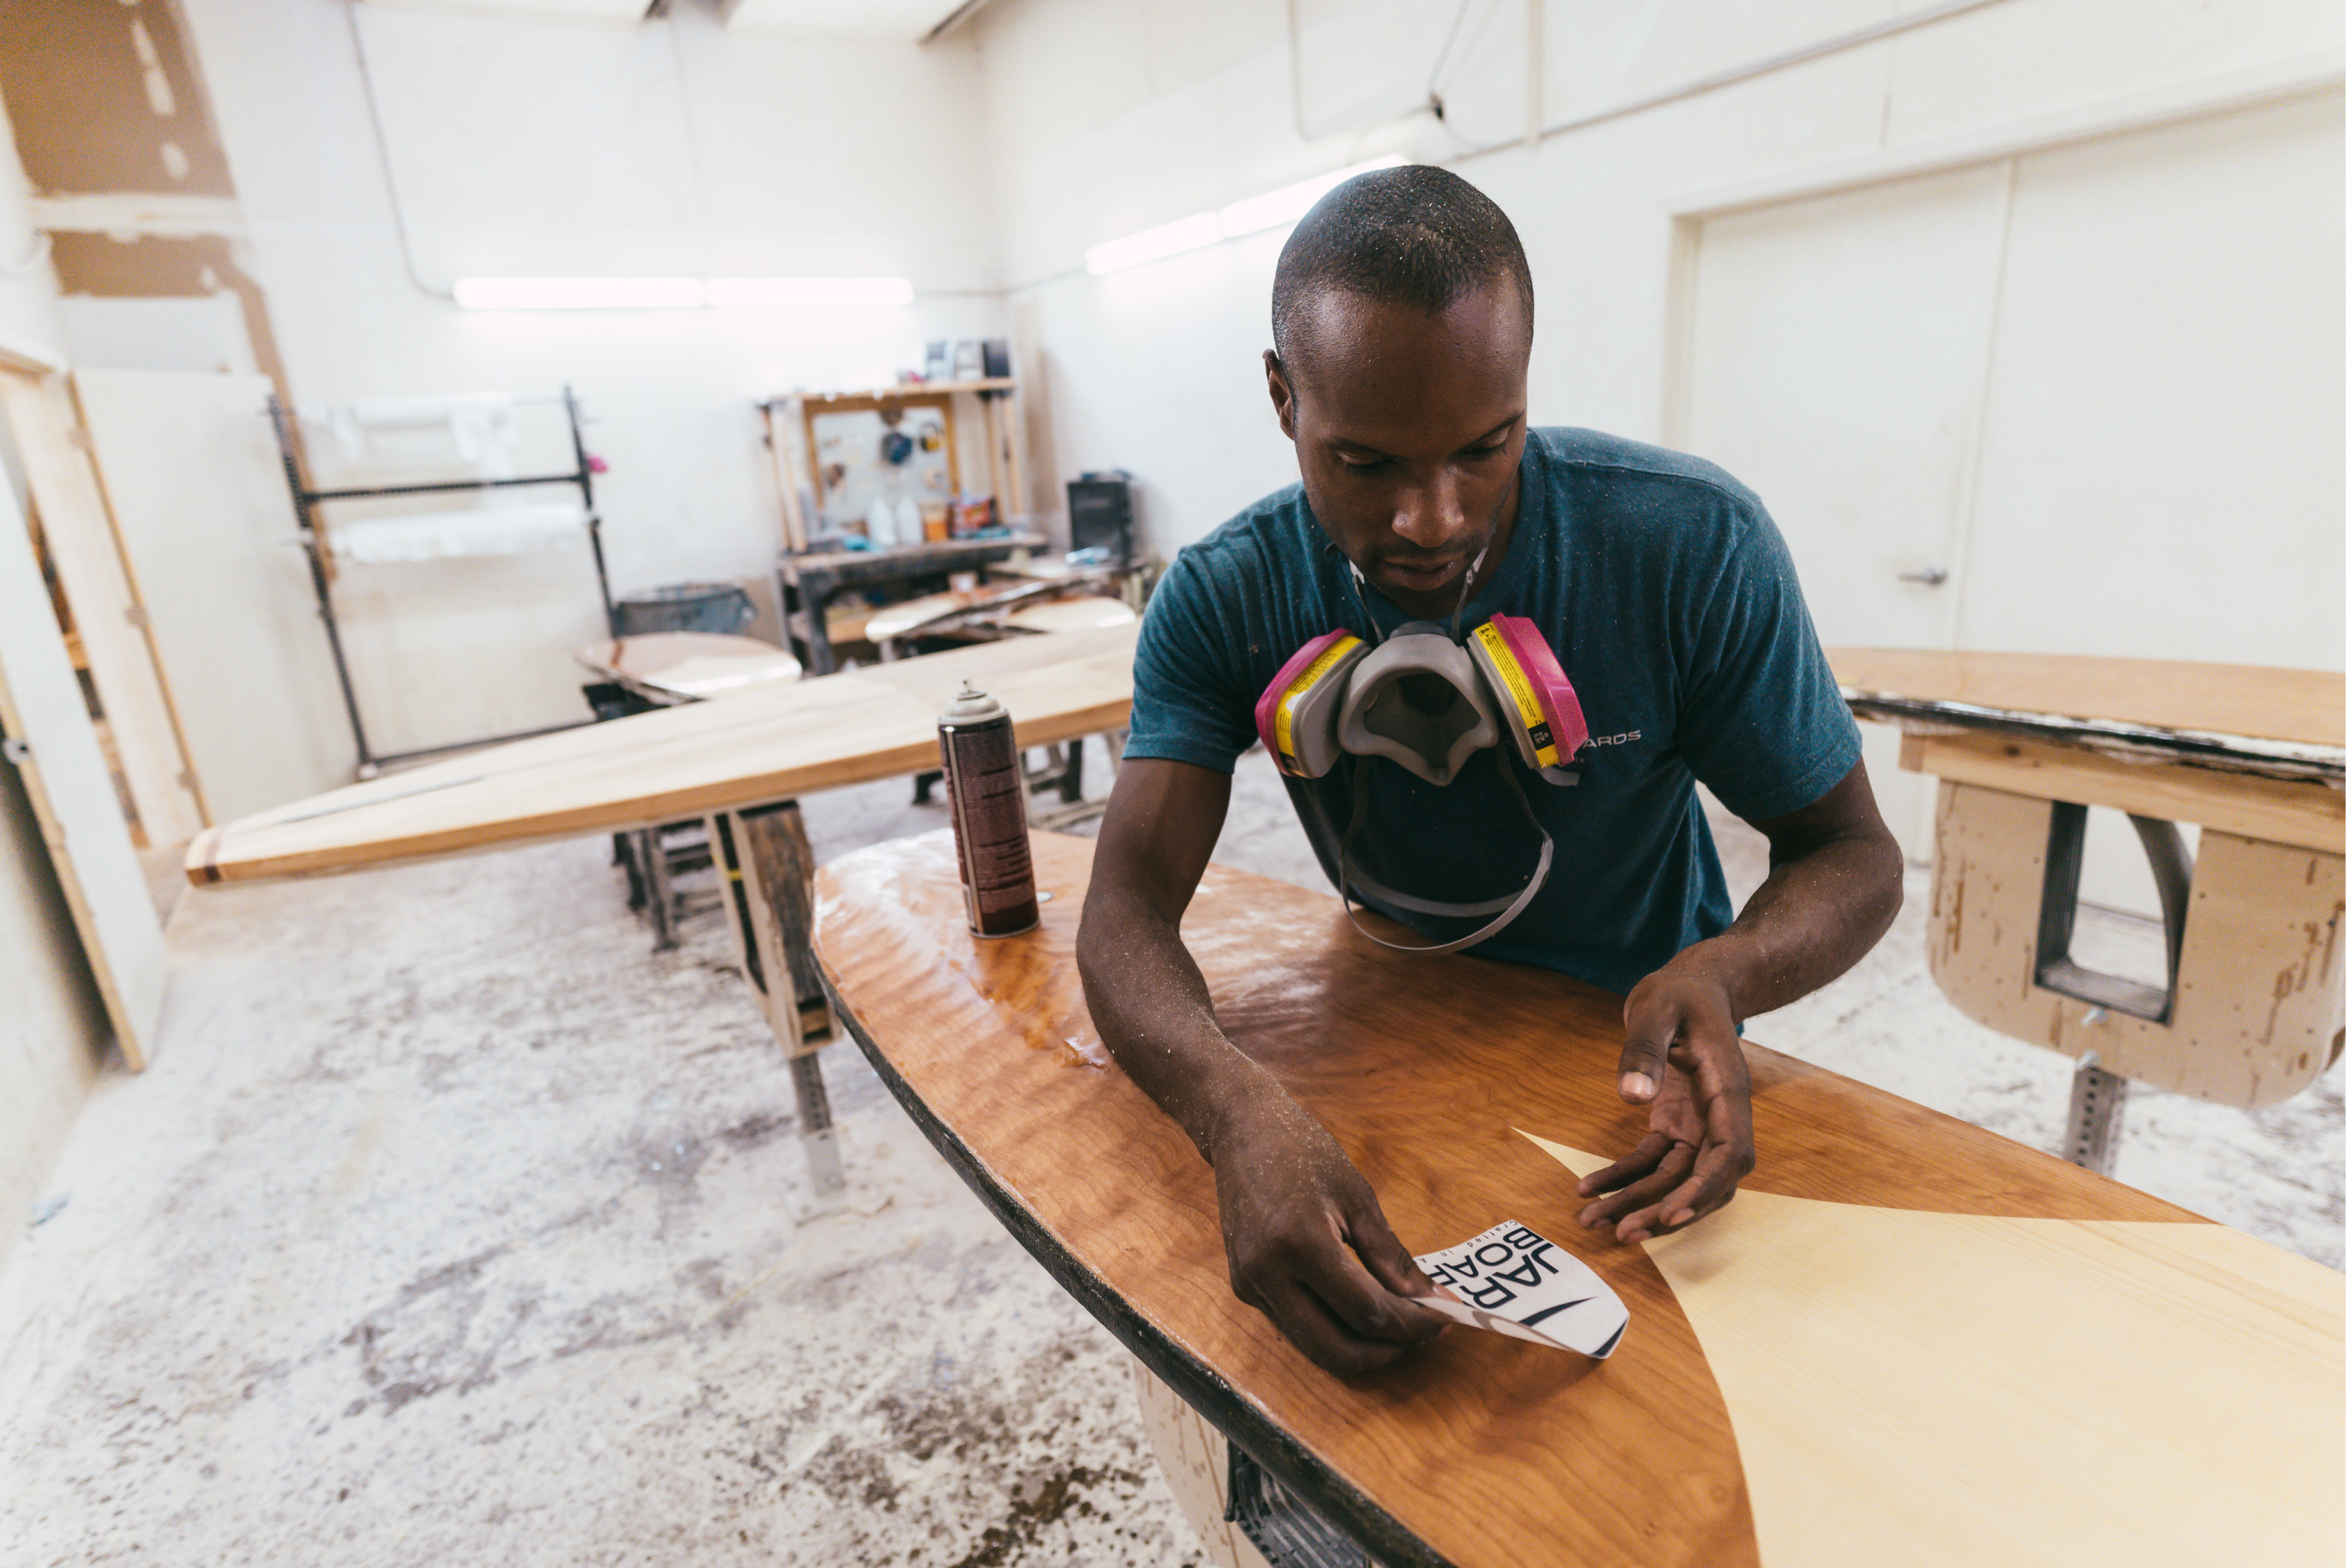
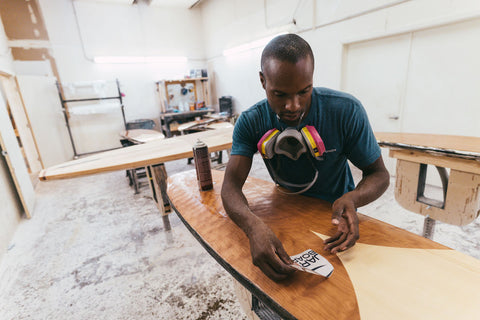
Remove the rice paper from the backing film and lay it gently on the surface of your board. The rice paper will go on the wood itself underneath the fiberglass cloth. nothing should be wet at this point so you have unlimited time to reposition it as you see fit.
 |
 |
 |
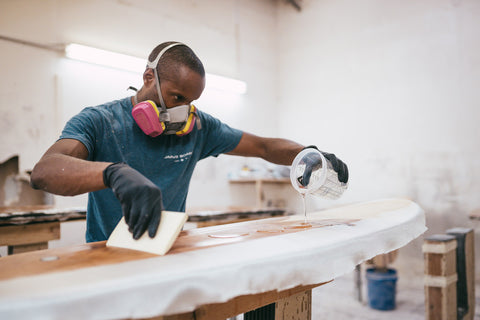
Next, you'll cover the board with fiberglass cloth and laminate as you normally would. To ensure that the rice paper turns transparent, it helps to do this stage on warmer days or with thinner epoxy such as resin research epoxy or entropy epoxy. In addition, when we are laminating boards in our studio, we usually start with the graphic first so that we can work the epoxy in and make sure that it fully "wets out".
Where do you get this magical paper you ask? You are in luck! We sell it through our online shop under Parts & Supplies.
