Crafting Waves: The Journey of Building a Hollow Redwood Surfboard
Ever dreamt of crafting your own wooden surfboard, tailoring every detail to your liking? Well, we turned that dream into a tangible reality with our newly launched surfboard Frame Kit. Today, I'm beyond thrilled to share the adventure of bringing our first surfboard frame kit to life, a journey filled with creativity, collaboration, and the spirit of the DIY community.
This blog will take you through the heartwarming story of our first surfboard kit's creation, from the spark of inspiration at the rustic Maker Camp to its maiden voyage on the California waves. You'll get an insider's look at the design process, the invaluable partnerships formed, and the meticulous craftsmanship that went into every piece of this project.
The Journey Begins: Maker Camp Inspiration
Our adventure into the world of DIY hollow wood surfboard kits started in an unexpected, yet serendipitous place—the rustic and vibrant Maker Camp in the Catskills Mountains, New York, this past Fall. Often hailed as "The Woodstock for the Maker Community," this event became the birthplace and launchpad of this new surfboard frame kit idea. It's where creativity meets craftsmanship, surrounded by the inspiring beauty of nature and a community that thrives on making things together and having a good time.
A Meeting of Minds: The Spark of Collaboration
The spark that ignited our project was a chance meeting with Lindsay Zuelich of Wood Brain, a charismatic maker and Youtuber with a passion for woodworking and a lively presence in the maker community. Naturally, our conversation veered into the world of hollow wood paddle boards and soon pivoted to the potential of creating a surfboard kit. Lindsay's dream of crafting a wooden board for her husband Eric Cedeno, a seasoned Southern California surfer, resonated with us, and we knew we had to bring this idea to life.

Designing the Dream: The Surfboard Kit Comes to Life
In the weeks after Camp, Lindsay, Eric and I began discussing Eric’s dream surfboard. Our design process was tailored to encapsulate the dynamic essence of surfing, differing from our stand-up paddle board (SUP) kits. We focused on a performance-driven mid-length thruster, specifically the Gerry Lopez Pocket Rocket, known for its exceptional design and surf capabilities. The design phase involved:
- Adapting board dimensions to fit Eric’s specific surfing styles and preferences.
- Utilizing 3D CAD software to design intricate frame kit pieces, ensuring hobbyist-friendly assembly.
- Laser cutting for precision and ease of assembly, setting the stage for a hands-on building experience.
- Dry-fitting & testing the pieces to ensure accuracy
- Shipping the Kit to Lindsay & Eric’s doorstep in
While the kit was in-transit, Lindsay and Eric began studying the process of building a hollow wood board using the video instructional series I published on the Jarvis Boards Youtube page from an 11’8” Touring SUP build. This gave them the confidence and inspiration needed to get the project started and begin sourcing the materials they wanted to use for the exterior skins, rails, accessories and finishing supplies.
The Build: Crafting With Care and Creativity
Lindsay and Eric's journey through the assembly and customization of their surfboard was a testament to the DIY spirit. They sourced beautiful 2x6 California Redwood lumber from their friends at Mendocino Redwood for the exterior deck and bottom skin strips, adding a unique touch with a gradient effect to highlight the wood's natural beauty. The final result is a testament to show that taking a little extra time to layout your lumber before gluing your pieces to your frame can make a huge difference!


After the strips had been laid on the bottom and then subsequently on the top deck, the board was ready to be cleaned up so that the solid side rails could be attached. During our planning discussions about this step in the process, I suggested that most people use solid wood panels for their rails, but there is a fun alternative they might want to consider, using cork rolls. I had recently built a couple stand up paddle boards using this cork rails and I just really enjoyed the process and the outcome. Cork is lightweight and flexible and easy to shape with a Shinto rasp, and if applied properly, you don’t even need to install a nose or tail block afterwards because a single continuous roll can be attached. Lindsay & Eric loved this idea so I referred them over to Bangor Cork to get a 14’ roll of 3/8” cork. The Frame Kit was designed for 3/4” side rail material so they wrapped their board completely with 2x layers of the cork roll.

In surfing, the shape of the side rails makes a big impact on how the board surfs. Since Eric was the experienced surfer, he wanted to be the one to shape the rails to his preferences. Hand shaping the board rails on a surfboard or paddle board is both an art and a science, and can be both intimidating and exciting at the same time. It requires some preparation like deciding where you want to the apex of the curve to be and shaping both sides to be symmetrical. Included with the Kit was a laser cut rail guide that helped Eric get the rails where he wanted them. Whether you’re using cork or solid timber rails, the most important tools to use are your hand and your eyes. Use your intuition to shape your rails into a shape that looks and feels right to you.

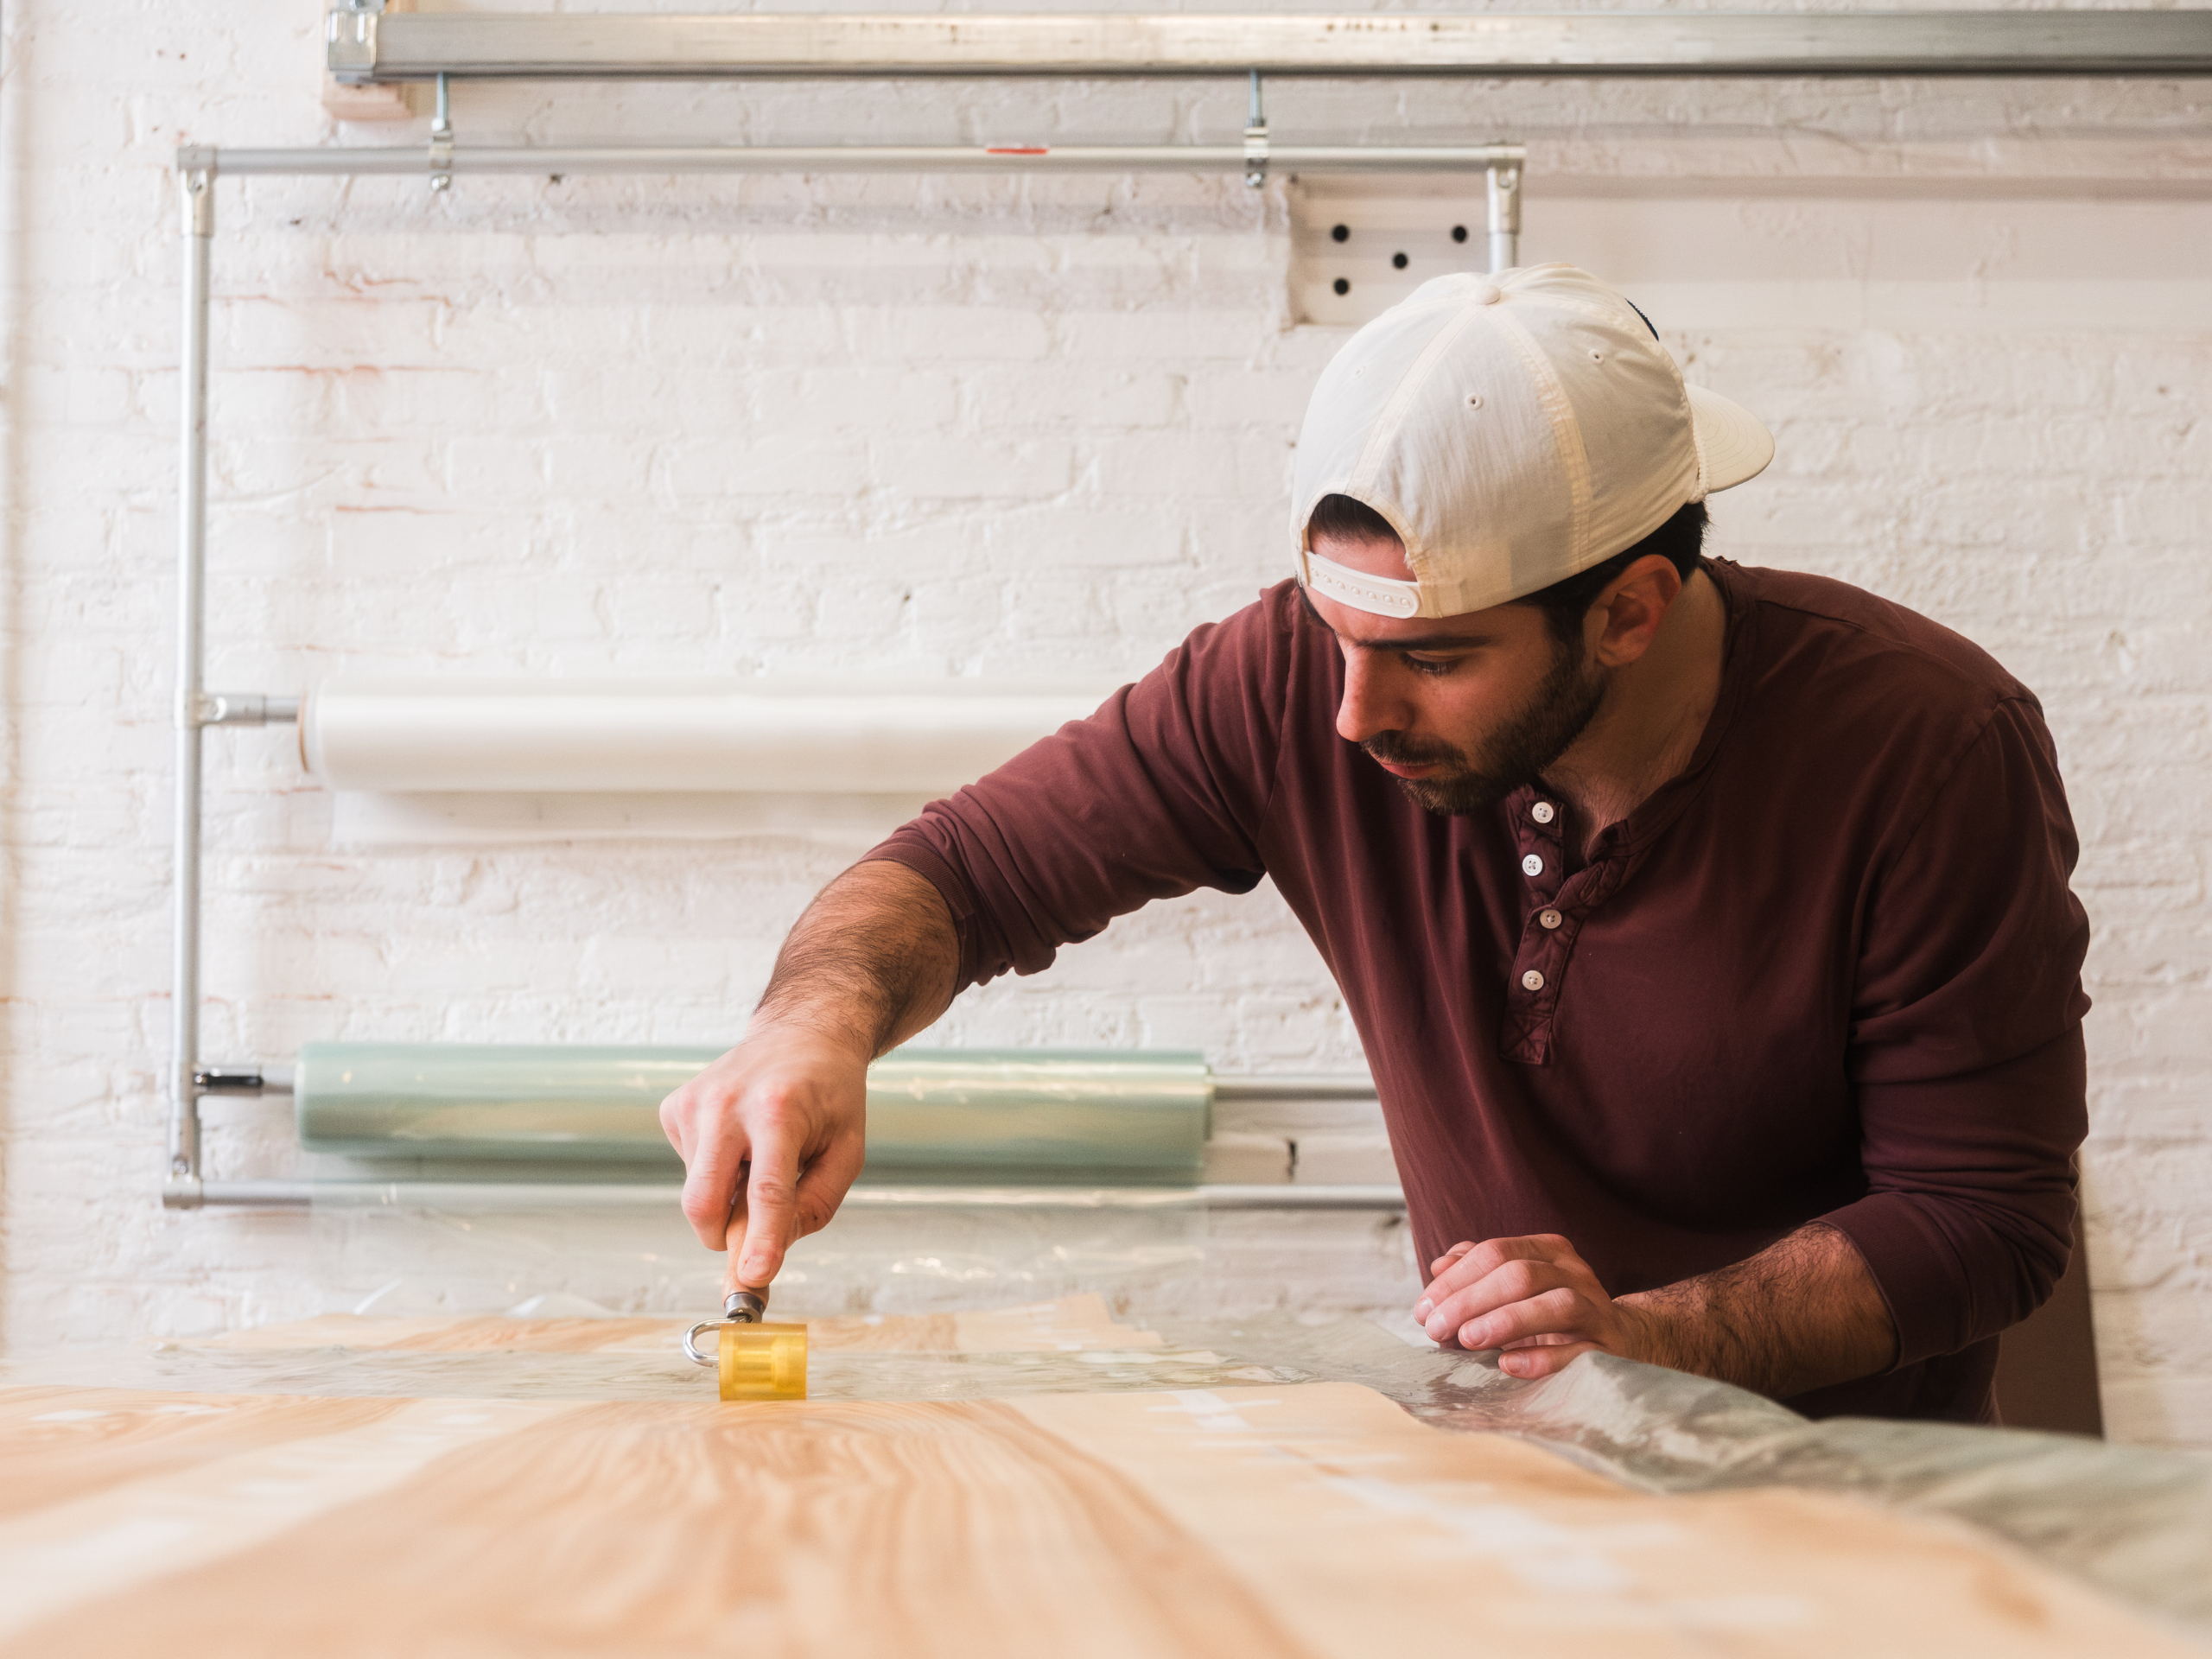
The Finishing Touches: Accessories and Final Assembly
Now that the board had the wood skins, rails and internal blocking installed, it was time to add the accessories that would be fiberglassed in later. For this surfboard, Lindsay & Eric installed a vent and leash plug on the top deck near the tail, and then 3x FCS II surfboard fin boxes in the bottom. To do this, they carefully routed out the holes for these accessories and then used Total Boat’s Thixo epoxy which is a pre-thickened 2:1 epoxy mixture that comes in a caulk tube - it’s really fantastic stuff and is a wonderful product for securing these essential parts parts into your board.

In fact, Total Boat was one of the main sponsors of Maker Camp and I was able to meet their entire team there as well. They’re an extremely friendly, fun, and knowledgeable group of people that are there to help you with any marine finishing questions you might have. They’re a company with decades of boat building experience and have a comprehensive lineup of marine grade protecting and finishing supplies that we cannot recommend enough. Here's the materials Linday & Eric used for this project:
- Accessory Installation: Thixo pre-thickened epoxy
- Seal Coat: 2:1 Penetrating Epoxy (you could just use their High Performance Epoxy here)
- Fiberglass: 4oz E-Glass
- Fiberglass Lamination: 2:1 High Performance Epoxy + Slow Hardener
- Hot Coat: 2:1 High Performance Epoxy + Slow Hardener
- Varnishing: Halcyon Water Based Marine Varnish
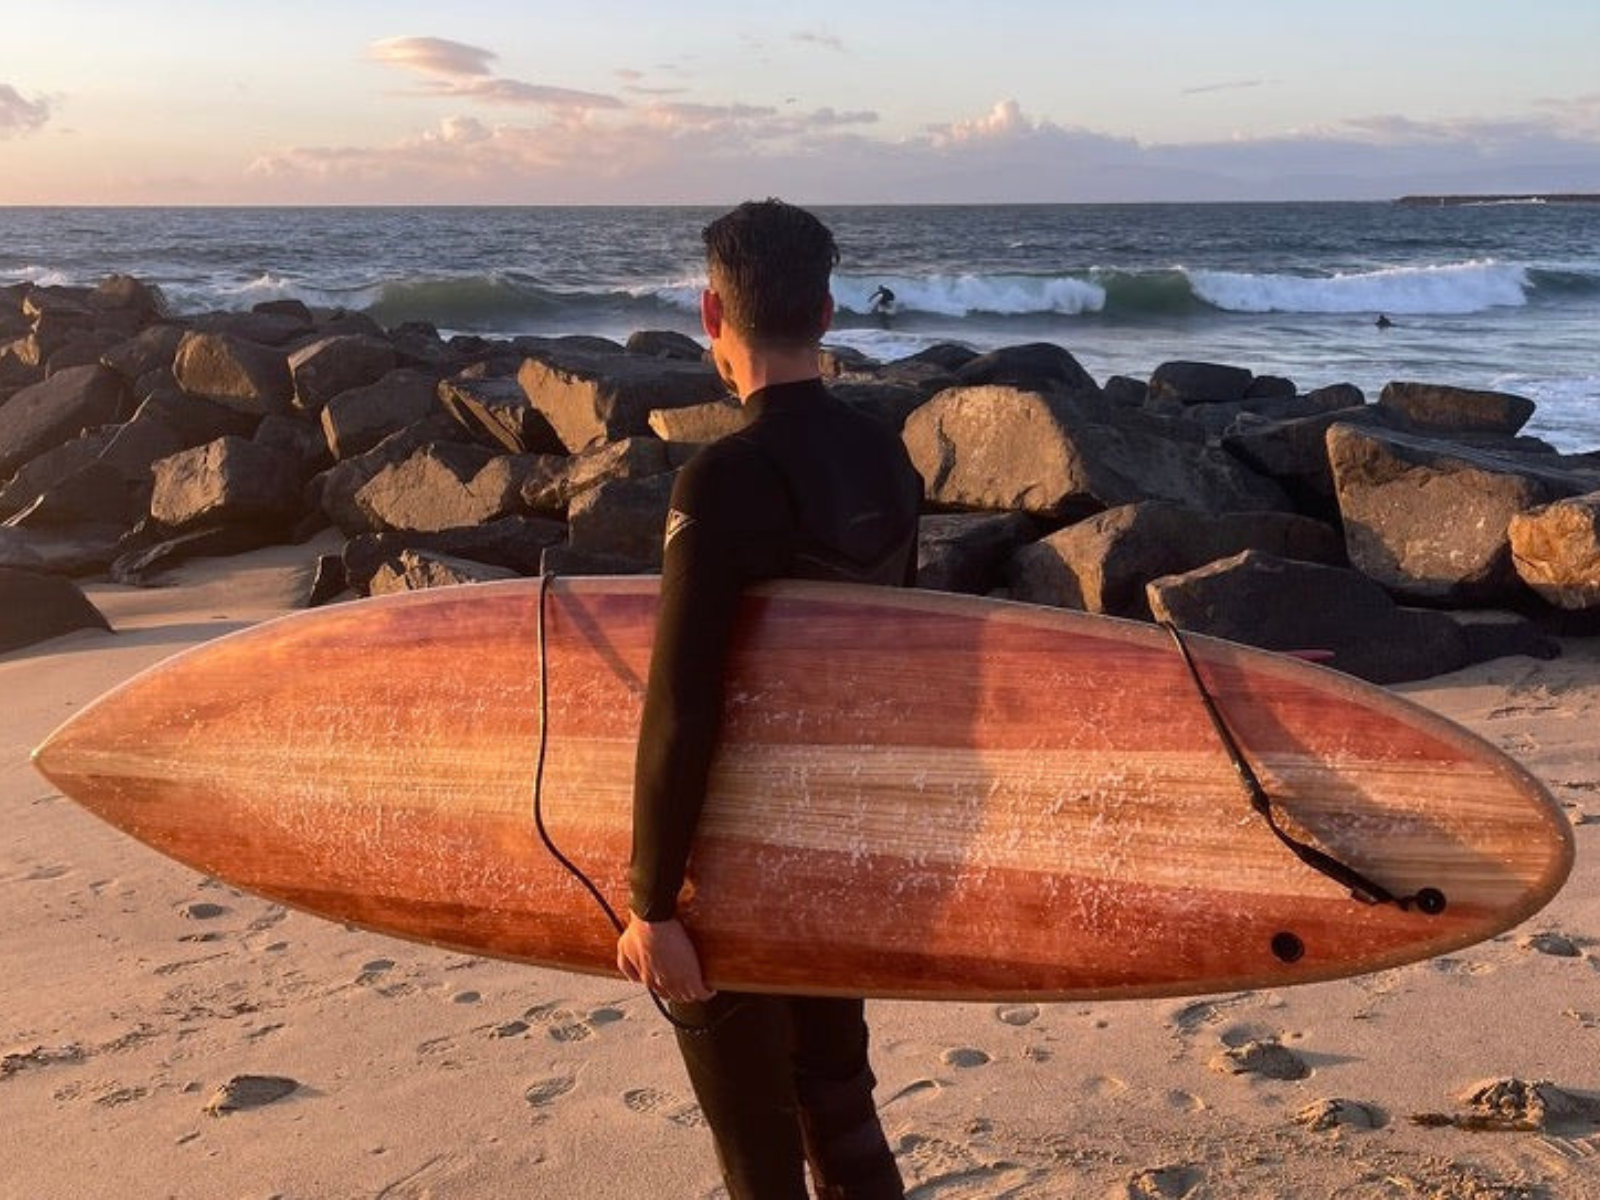
Maiden Voyage: The Dream Realized
The culmination of Lindsay and Eric's hard work and dedication was a beautiful, handcrafted surfboard ready to face the waves. They worked hard on this beautiful board creation and they were about to expose it to one of nature’s most magnificent forces: west coast swells. On a Tuesday morning, the surf report looked good and they packed up their board, took it to the beach and added some surfboard wax to the deck for traction. The beauty of this newly crafted redwood board was drawing attention from several beach go’ers and fellow surfers. Getting a handful of compliments added to the excitement and nerves. Eric paddled out into the surf lineup with ease and caught his first wave in no time! After a great session catching many more waves and exploring how the board carved, Eric walked back to his wife with the biggest child-like smile to solidify a dream come true for this inspiring duo.


Conclusion: Beyond the Waves
In reflecting on the project and collaboration, Lindsay & Eric were hooked. Like true makers and DIY’ers, they were already dreaming about their next board model… stay tuned for more.
For a video recap of Eric & Lindsay’s build, be sure to check out their full length video on the Wood Brain Youtube Channel or view below. Be sure to like and subscribe to support this awesome duo!
The journey from a concept to catching waves with a custom DIY hollow wood surfboard is nothing short of magical. It's a testament to creativity, community, and the sheer joy of making something with your own hands. Whether you're a seasoned surfer or a DIY enthusiast looking to tackle a new project, we hope this story inspires you to create, customize, and ride your dream board.
Ready to embark on your own surfboard or paddle board making adventure? Dive into our collection of DIY pre-cut Frame Kits and let's make those dreams a reality.
