So How Do You Build a Wooden Kayak? Stitch and Glue Kayak Build Overview
Building your own wooden kayak using the stitch and glue method is incredibly easy and can be done by anyone at any skill level. If you purchase a full kayak kit from our website vs just buying the kayak plans, the process becomes even easier as no machining, sourcing, or milling of wood is required. The only power tools you will need are an orbital sander and cordless drill. All panels needed to build your wooden kayak come fully precut when you order the complete Jarvis Boards kayak kit. Stitch and glue kayak kits are the easiest watercraft building project available from Jarvis Boards and takes the average builder 25 to 30 hours to complete. If you are new to woodworking, it may take up to 60 hours to complete your first DIY kayak kit. All models of stitch and glue kayak available for purchase through the website are beginner friendly. Whether building your wood kayak from a full Jarvis Boards kayak kit or blueprints, you will find that it is an incredibly rewarding experience you can complete by yourself in only a few uncomplicated steps.

Building a Wooden Kayak - Step 1
The first step is assembly of the kayak panels. Since plywood sheets only come in 8-foot lengths, individual panel pieces will need to be glued together using fiberglass cloth and marine epoxy resin.
If you have only purchased blueprints, your first step will be to trace and cut out your stitch and glue kayak panels. To make this easier, Jarvis Boards provides a full-sized template of our kayak plans. No complicated math or drawing skills are required.
Building a wood Kayak - Step 2
Next, small holes need to be drilled along the edge of each full-length kayak panel, 4 to 6 inches apart, so that wire can be threaded through to stitch the kayak’s panels together. This creates the three-dimensional shape of the watercraft. Each panel is clearly labelled making piecing your kayak together an incredibly easy process.
It is recommended to loosely stitch your kayak panels together initially. When all the panel pieces have been placed, wires can be tightened as needed to fit the pieces together as tightly as possible.

How to Build a wood kayak - Step 3
The first step in having your kayak permanently hold its shape is to spread a thick layer of marine epoxy resin mixed with wood flour between the joints of the panels. Once the epoxy has dried the wooden panels will have permanently bonded together and the individual panel pieces will no longer be able to move out of place.
If you are new to the use of epoxy, epoxy is an adhesive created by combining resin and hardener in precise ratios. To ensure added working time, Jarvis Boards includes slow cure hardener in all our stitch and glue kayak kits.

Fiberglassing a wood Kayak - Step 4
The next step is to encase your kayak in fiberglass and epoxy. But before this can happen, all the wire stitching needs to be removed. Be sure to wait until the epoxy spread between the panel joists in step 3 has fully dried, this typically takes 24 hours.
Once the kayak’s panels have been fully sanded and all holes and cracks have been filled, roll out the fiberglass cloth and trim to overlap the top of the kayak’s deck. Then, while pouring epoxy over the fiberglass cloth, use a squeegee to move the epoxy and fully cover the cloth, ensuring there are no air bubbles and making sure the epoxy fully saturates the fiberglass cloth. Once the epoxy has been poured, you will have about 20 to 30 minutes of working time before the epoxy has hardened to the point of no longer being workable.
After the epoxy has fully cured, use your orbital sander to sand the boards smooth. Your wooden kayak is now waterproof and seaworthy! Many stitch and glue kayak builders choose to varnish their builds after completion for extra added shine but this step is completely optional.
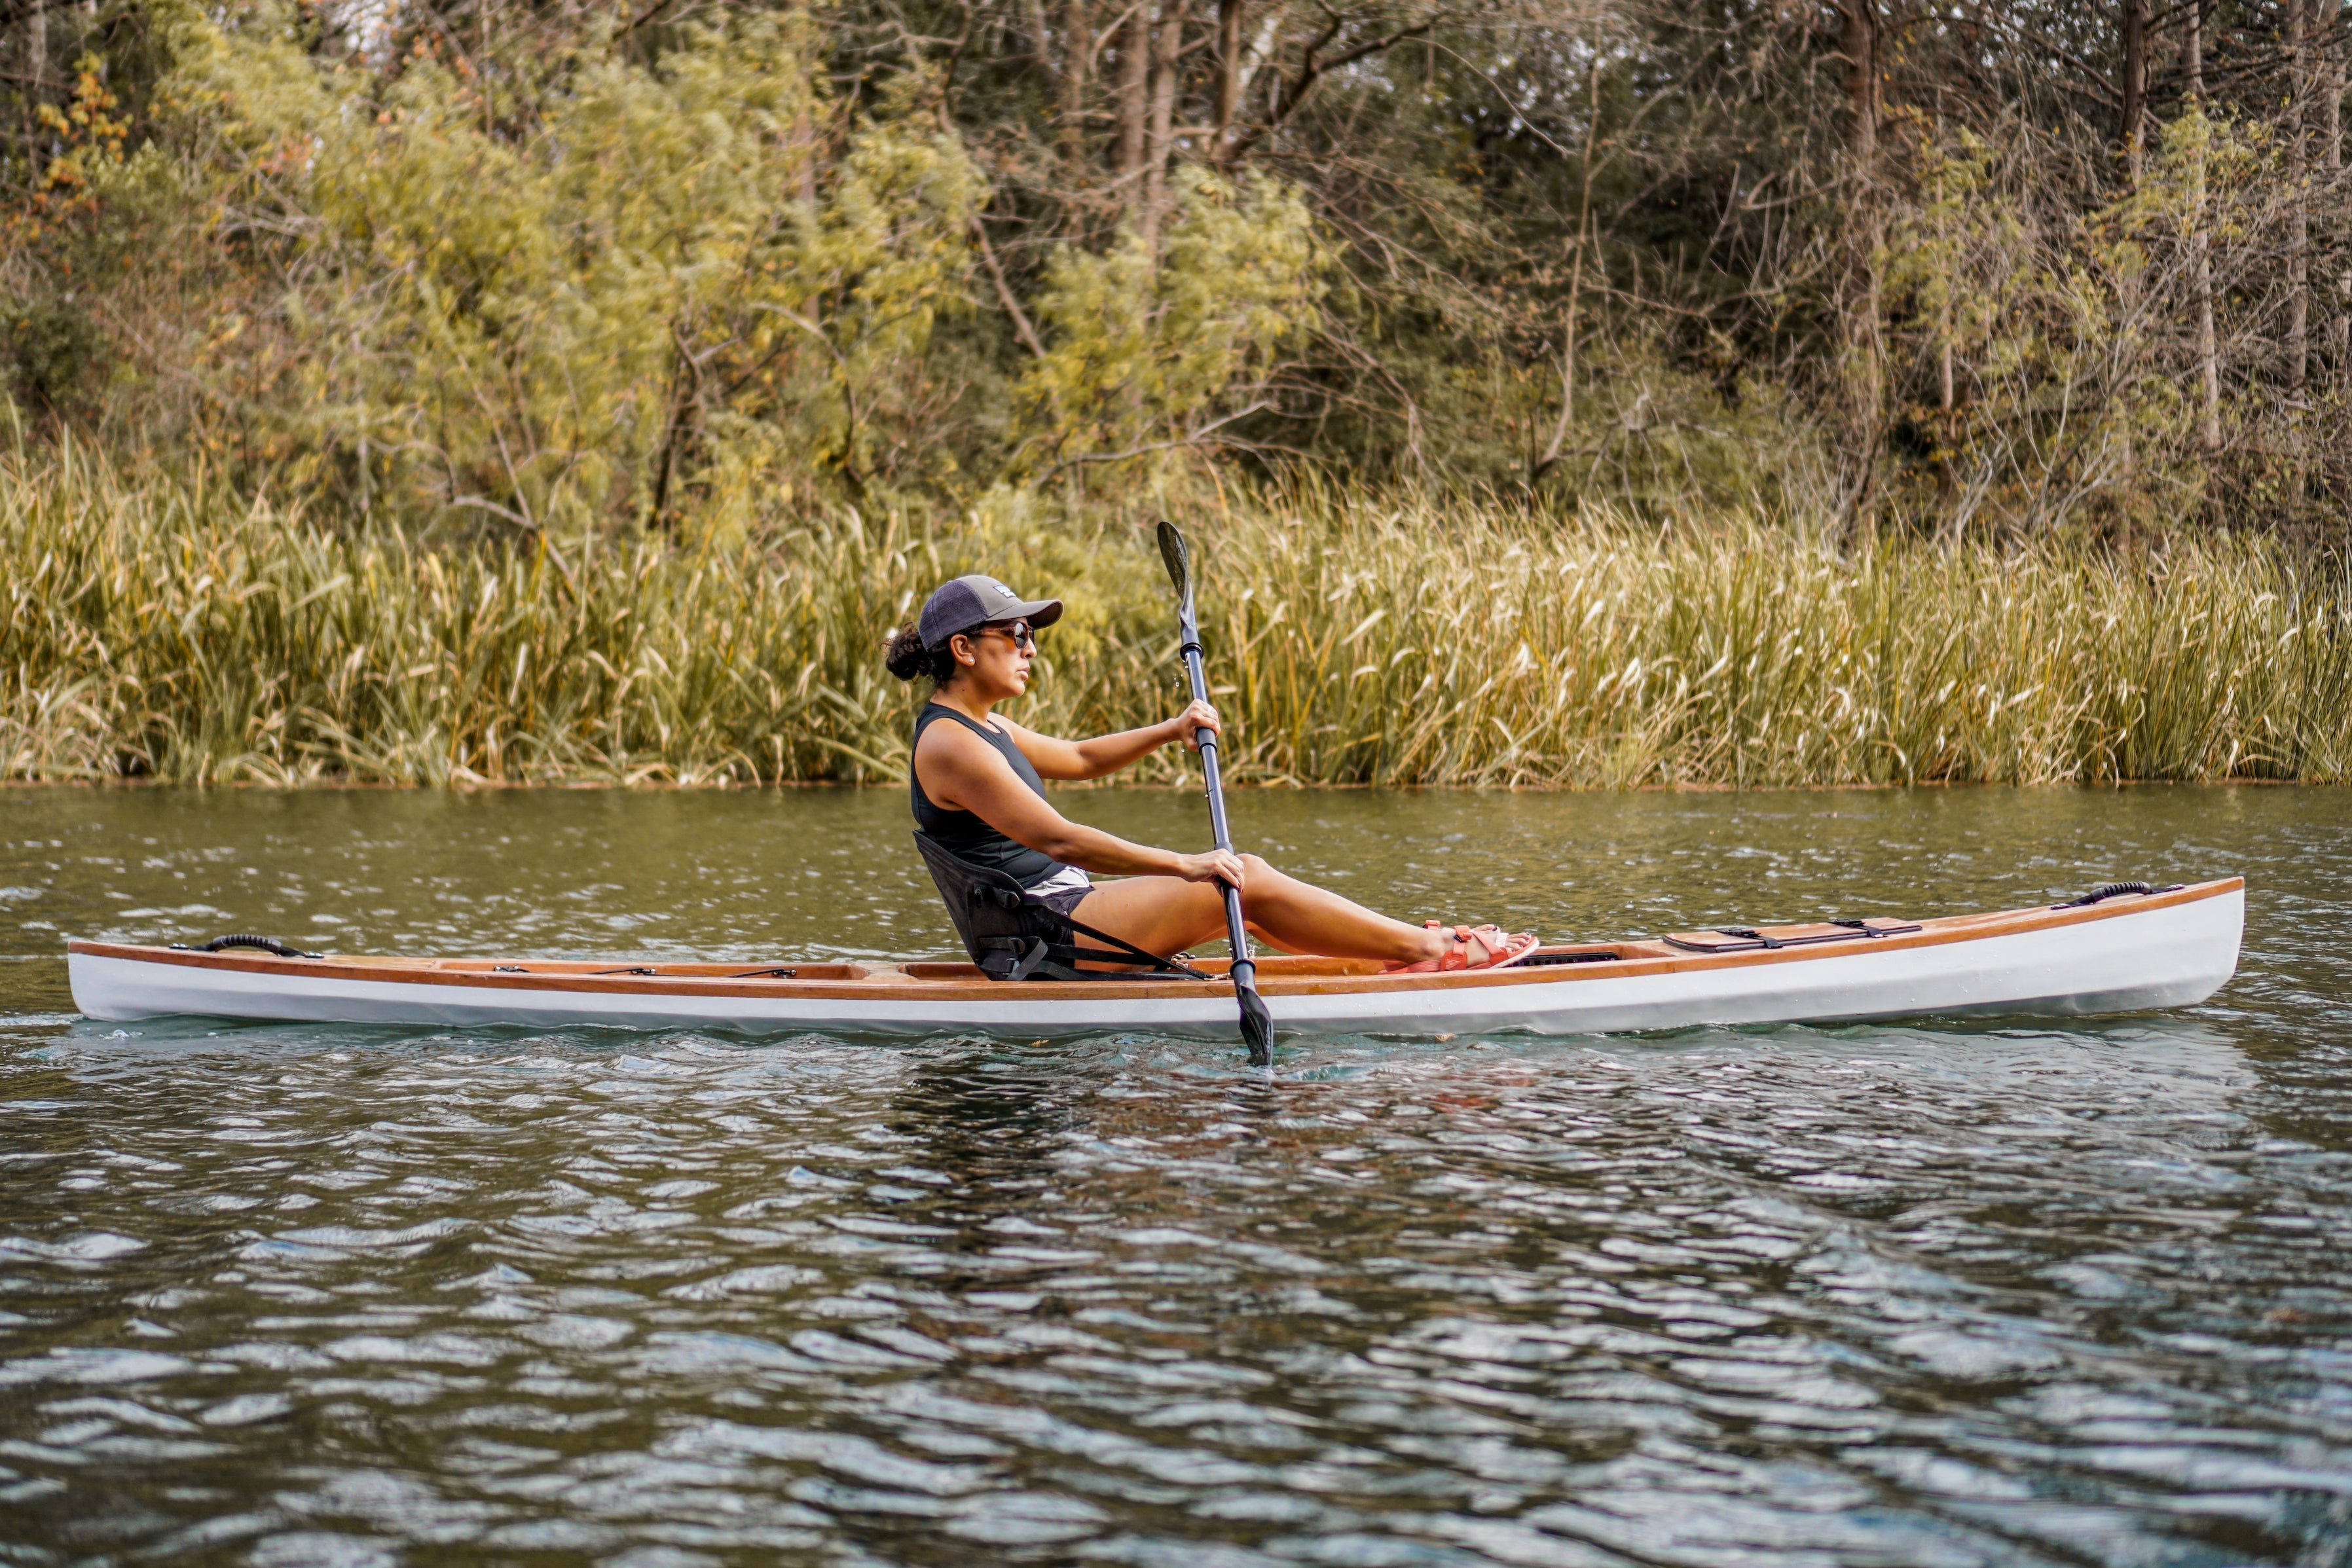
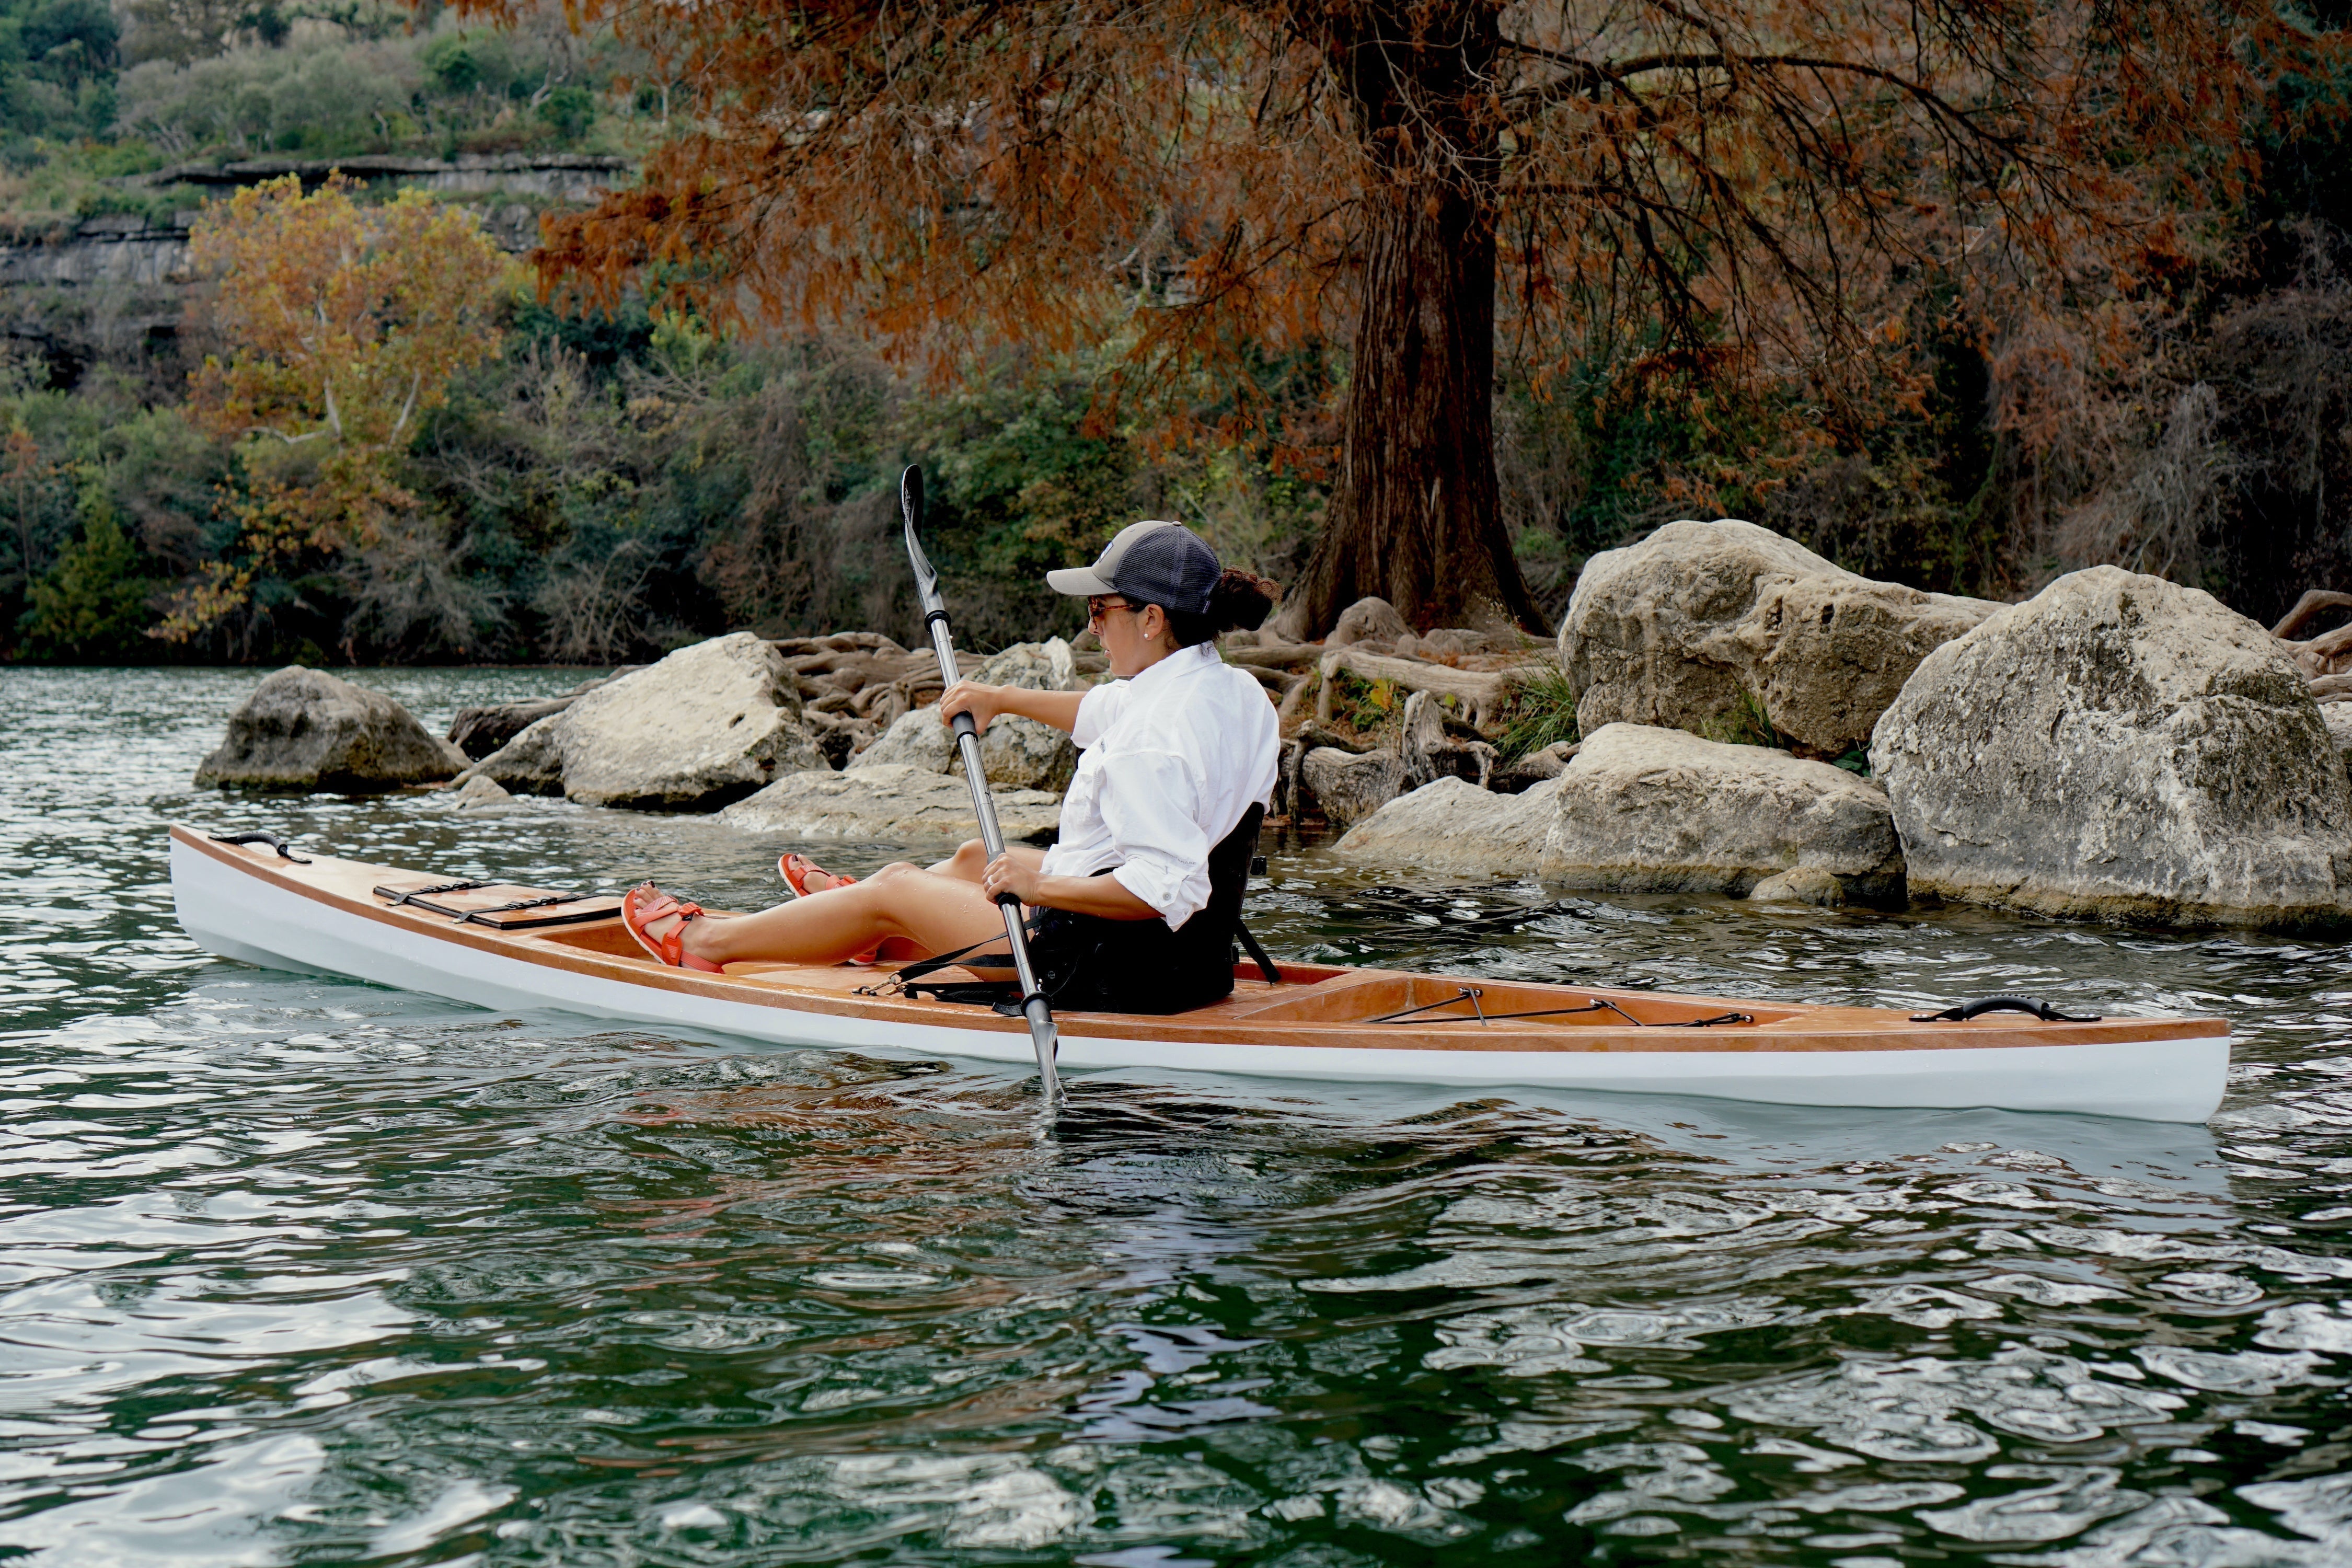
The most difficult step on building your own stitch and glue kayak is deciding which model to build as there are several kayak kits available on our website to choose from. All designs are user friendly for beginners and a great option for personal fitness. If you are looking for a fishing kayak, the Copano offers great stability for when you are reeling in your biggest catch of the day. The Matagorda is our most versatile kayak and your best option if you are looking for speed. It is also our lightest model weighing only 42 pounds. Lastly, the Laguna is a sit on top kayak that can be enjoyed by every member of your family.

If building your own wooden kayak with the Jarvis Boards simple four step stitch and glue method interests you, be sure to click to get started on your next project: a DIY kayak!